Wig-Wam,thank you ma'm.
A few weeks ago I put on a game involving my Woodland Indians,and represented their village with one plastic wig-wam(teepee) and a Totem pole-and to be honest it looked pathetic!!-but since then I have been thinking of ways to make,cheaply, more wig-wams at very little expense.
I looked at the internet,and actually found a couple of sites that showed how to make them,but seemed a little bit intricate(involving compasses and oblique angle cuts!!!) so decided to have a go myself.
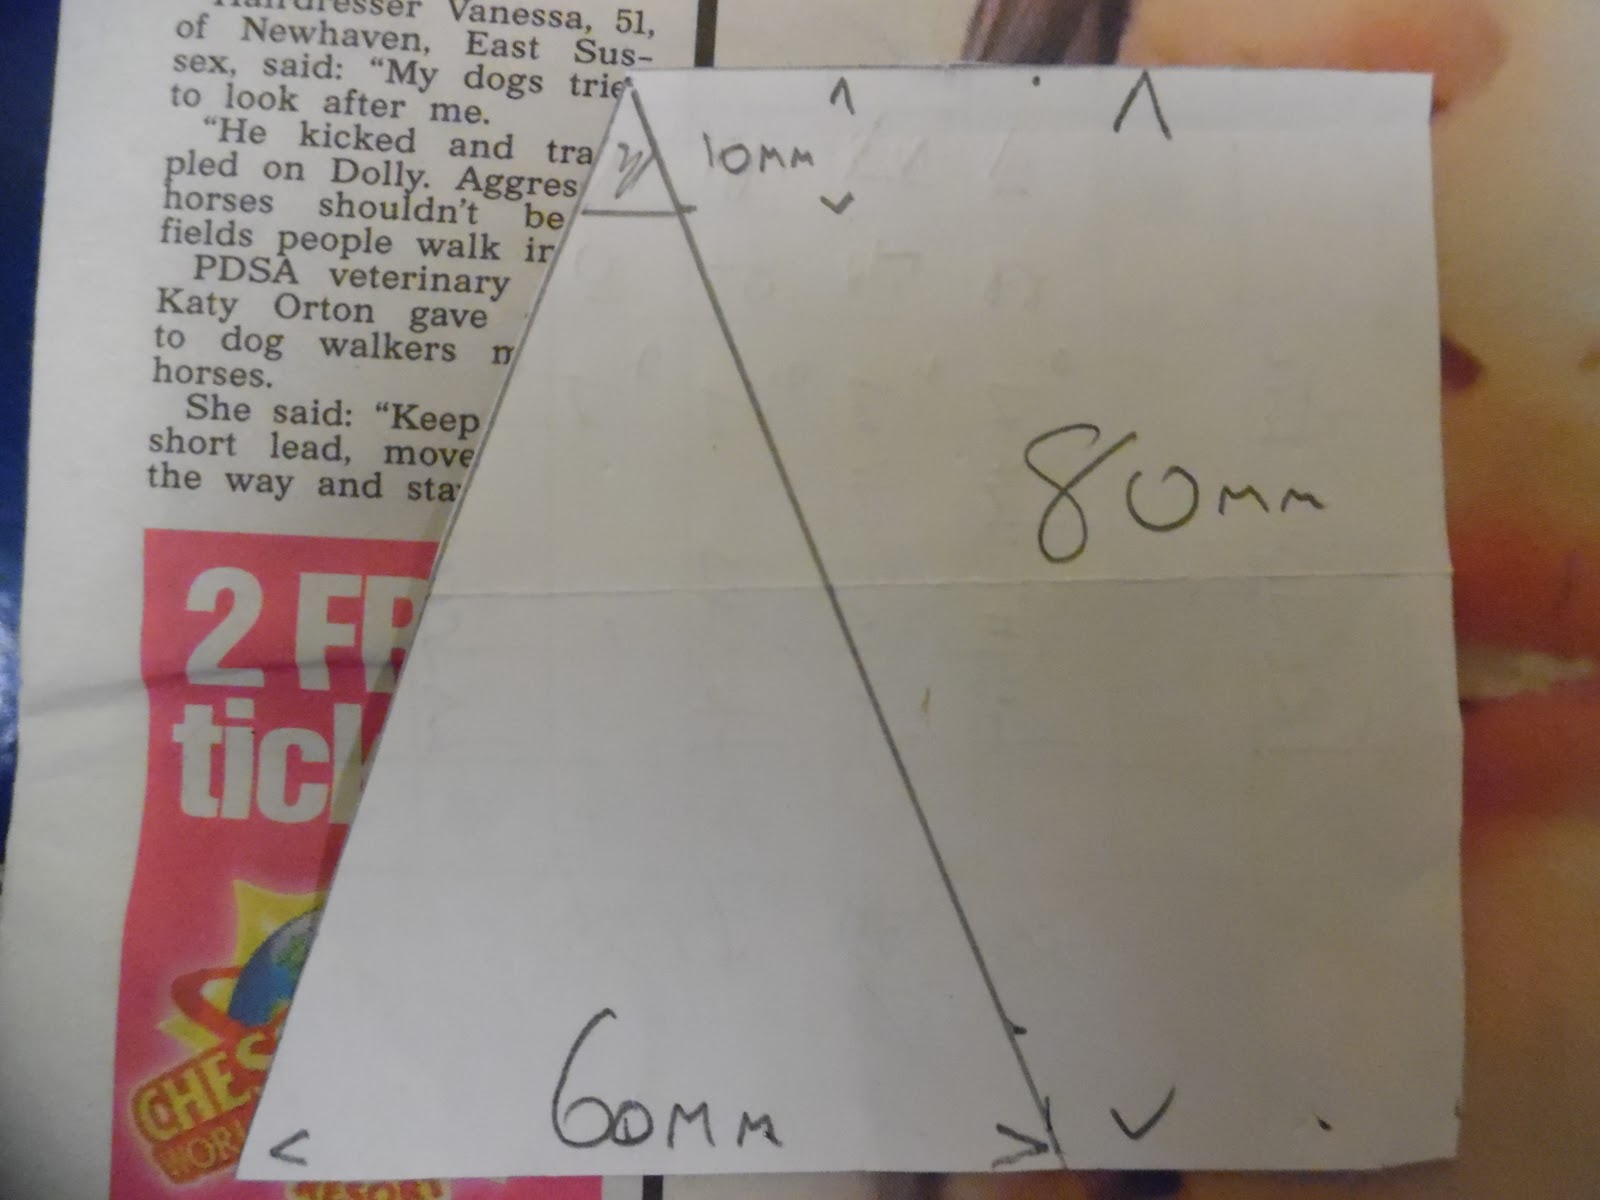
I experimented,using bits of paper,to find the correct size I would need for 25/28mm figures,and came up with these measurements.
I then made a hard card template,as above,and was ready to mark some thick craft card with the design.
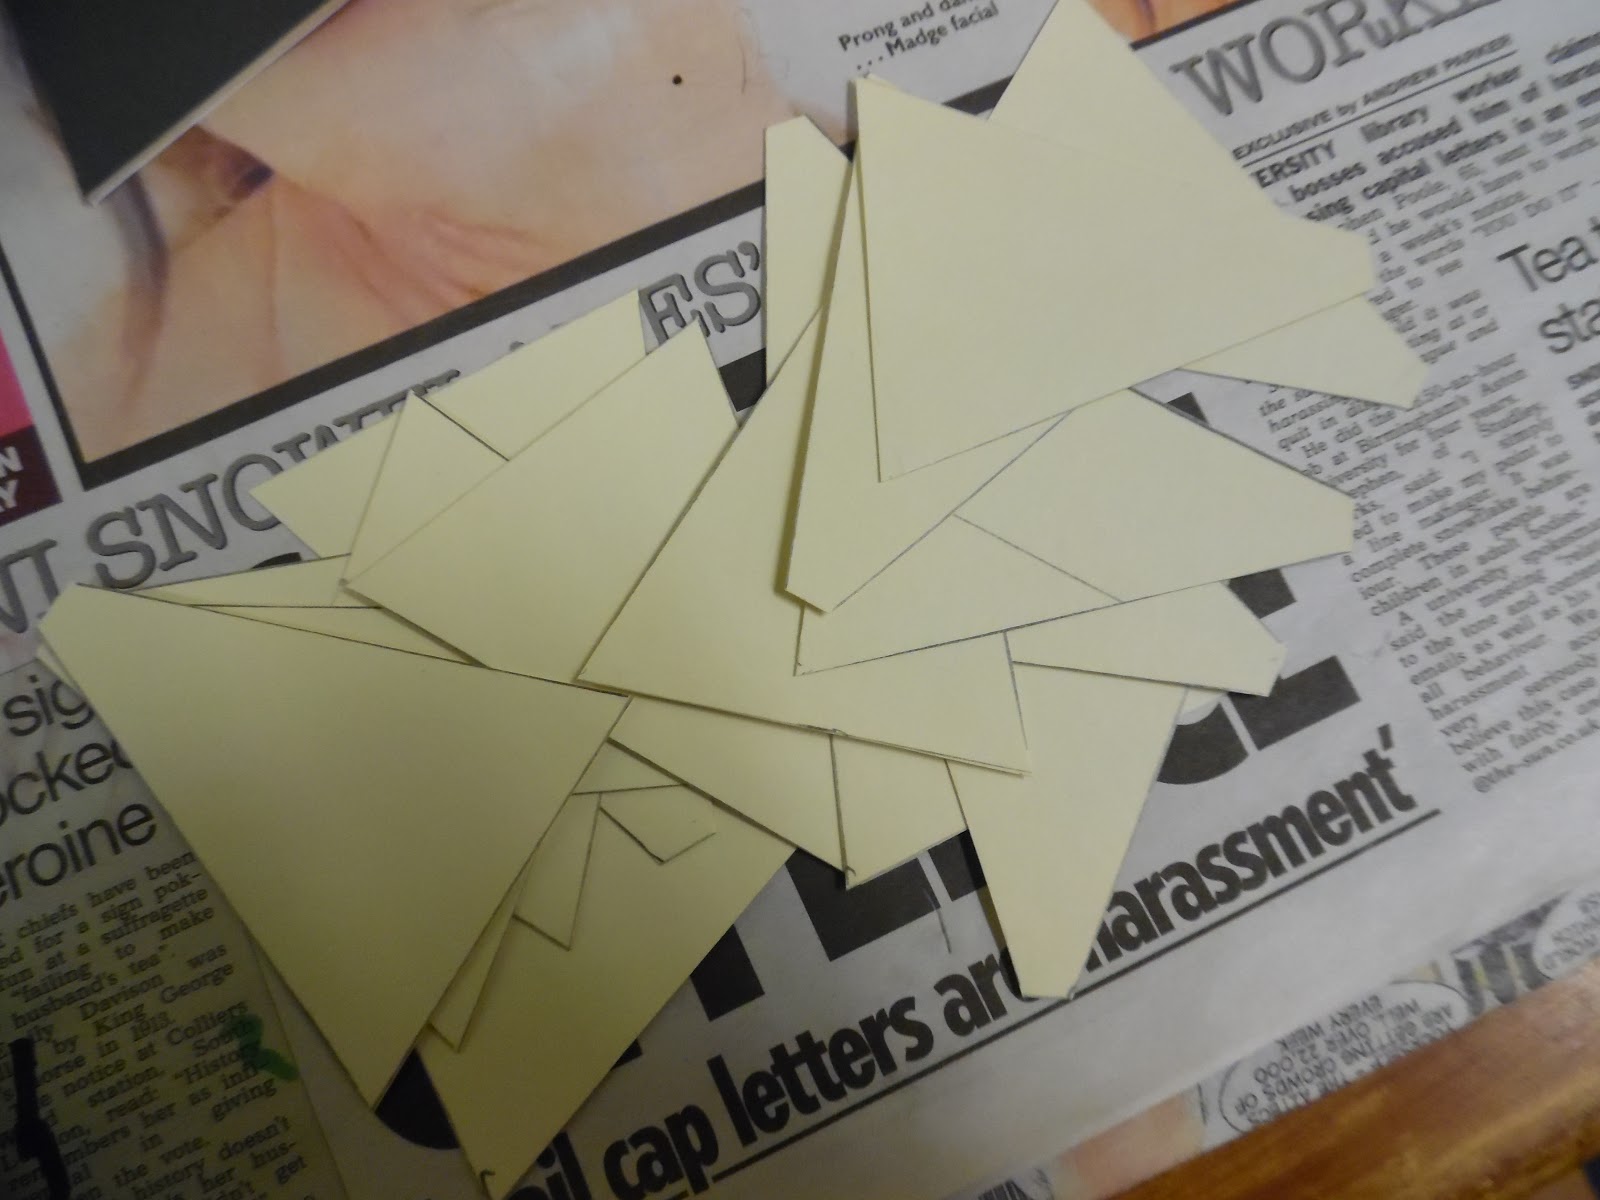
Using only the items shown,I quickly marked and cut out the requisite number,ie 4 shapes per wig-wam and was ready to go.
24 shapes done,ie 6 wig-wams,and now for the sticky bit!!
Putting a line of UHU glue down each right hand edge,I carefully stuck them in a sort of fan shape,as shown.
After about a minute and a half,they had stuck enough for me to pick them up and fold the final edge around to form the wig-wam shape.
Hey Presto!!-a wig-wam,but not yet complete-poles are needed!
The aperture(hole!) where the poles,aka cocktail sticks,will be shoved!!
A thin line of UHU stuck the sticks in place,resulting in this.........................
Who's a clever boy then???? any finishing touches? eg a door and some crude designs on the "walls"-using felt tip pens,I achieved this finished article..........................
Not bad! I found these things so easy and fun to make,that I may have gone a little OTT!!!
by making 12 of them-some Indian village!-I'll have to find a use for them(???)


No comments:
Post a Comment